All Black Ops 7 Launch Maps: Variety, Flow, and Day-One Tactics
2025-11-12
When a new Black Ops drops, the shape of the launch map roster quietly decides how matches feel for the first month, and Black Ops 7 is primed to set a punchy tempo from match one. The design brief leans into early‑90s intrigue and field operations, with compact arenas for frantic trades, layered mid‑size locales for objective rotations, and a handful of sightline‑heavy spaces where patience and crossfire discipline matter. You can expect classic three‑lane blueprints for clarity alongside more elastic, multi‑route hubs that reward flanks, off‑angles, and coordinated pinches. Lighting and material readability have been tuned so silhouettes pop without washing out environmental detail, while traversal hooks from the new movement package encourage vertical peeks, quick mantle routes, and creative disengages. From the jump, the rotation supports the evergreen crowd‑pleasers—Team Deathmatch, Domination, Hardpoint, and Search & Destroy—so every archetype gets a home and squads can settle into a rhythm without waiting on post‑launch drops.
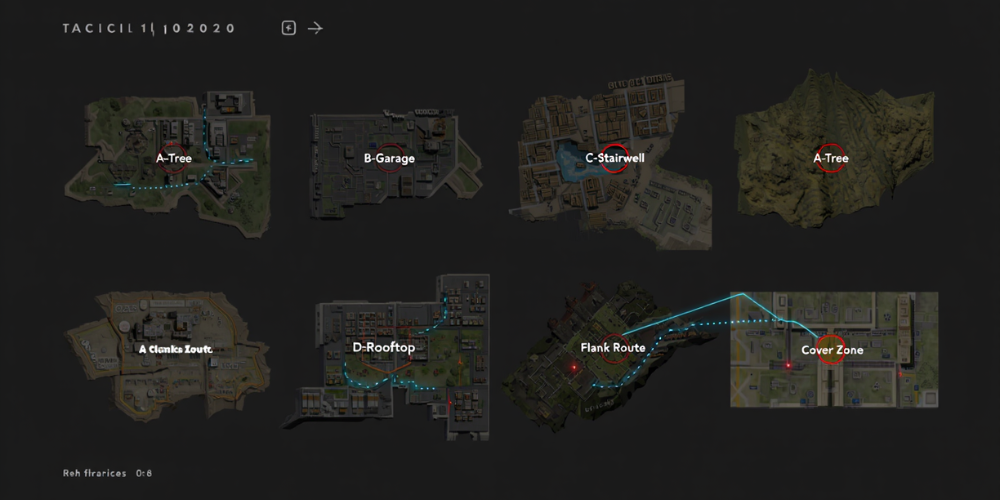
The headline for day one is breadth without bloat. The launch lineup features sixteen multiplayer arenas—twelve tailored for 6v6 and four smaller Strike maps that flex between intimate 2v2 skirmishes and tight 6v6 brawls. That split ensures both party sizes and solo queue mains have consistent options and healthy lobbies. Flow is a clear priority: spawn logic is less about ping‑ponging bodies and more about stabilizing fronts, nudging teams into readable pushes while leaving space for clutch route swaps. Lane language is deliberate, with power positions that offer value without turning into couches for infinite holds; expect multiple counter‑routes, jump‑ups, and wall cover that let you break setups with timing, utility, and a buddy. Visual callouts are distinct enough that your team can trade info quickly—think landmark signage, color‑coded districts, and skyline anchors—cutting the learning curve during that hectic first week as everyone dials in sightlines, nade banking, and anchor timing for hill transitions.
What you will walk into on day one is a tour of varied theaters: neon‑washed downtown grids with overlapping catwalks and storefront interiors; coastal compounds where courtyards chain into narrow alleys; arid depots built around warehouses, yard cranes, and stacked containers; alpine facilities with exterior catwalks and lab corridors; and village outskirts where orchards and crumbling walls break up mid‑range duels. The compact picks favor relentless trades and sticky objective fights, perfect for SMGs and shotguns packing sprint‑to‑fire, snappy ADS, and fast handling. On these, think low‑profile optics, recoil‑steady barrels, and short‑throw utility to clear corners. Mid‑size hybrids reward ARs with balanced recoil and quick strafe, while a reliable pistol or machine pistol covers those claustrophobic stairwells. For the rare long channel, a precision setup shines—tunable magnification, stable underbarrel, and a suppressor to keep the minimap calm when you take a risky opening shot. Audio occlusion and reverb cues help track route swaps, so keep your comms tidy and call landmarks, not vague directions.
Strike maps deserve special mention because their geometry scales across modes. In 2v2, they become chessboards where sound discipline, crossfire spacing, and utility trades dictate everything; once you bump to 6v6, those same lines flip into brisk, objective‑centric scrums where spawn flips happen fast if you overextend. Break setups with layered nades, a smoke to cross high‑risk gaps, and a well‑timed pinch from a jump‑up your opponents forgot existed. For Hardpoint, note early hill anchors and the money hills that often swing matches; learn your white‑board routes between hills two and three, and keep one player reading the off‑lane to catch late flanks. In Domination, do not tunnel on triple caps; stabilize A‑B or B‑C, post an overwatch on the long, and rotate two to pressure the side lane when timers favor you. S&D on the broader maps is a masterclass in route math—count steps, memorize silent drops, pre‑aim common off‑angles, and carry at least one lineup to clear default head‑peek spots without donating free openings.
Conclusion
The best way to own the launch week is to prep a simple regimen: jump into a private match, walk each arena slowly, and mark three items per lane—one power position, one safe rotate, and one emergency disengage. Swap your attachments based on the map’s median engagement distance instead of sticking to a single all‑rounder; one game favoring sub‑five‑meter duels should push you toward faster handling, while a lane‑driven plaza asks for stability and patient bursts. Stagger your streak selection so your team covers recon, space‑making, and zone denial without redundancy, and save your field upgrade for moments that break stalemates rather than for every respawn. Expect seasonal refreshes to weave in remixed layouts and a few reimagined classics, but this day‑one slate already offers a healthy sandbox for every playstyle. Keep notes on spawns that consistently flip, track which hills your group struggles to hold, and iterate nightly. With deliberate study and calm coordination, you will translate map literacy into confident routes, cleaner trades, and scoreboard control from the first Friday through the first season reset.


